lab
This procedure is part of a lab that teaches you how to manage errors using Errors Inbox.
Each procedure in the lab builds upon the last, so make sure you're running your application locally before starting this one.
With your app now running in a local development environment, your next goal is to set up Errors Inbox. With it, you can debug your application before you deploy it to production.
Create a workload
To observe your application in Errors Inbox, you first create a workload.
In a workload, you group specific apps and services that you want to monitor. The workload then provides an aggregated view of the health and activities of those apps and services.
Sign in to New Relic.
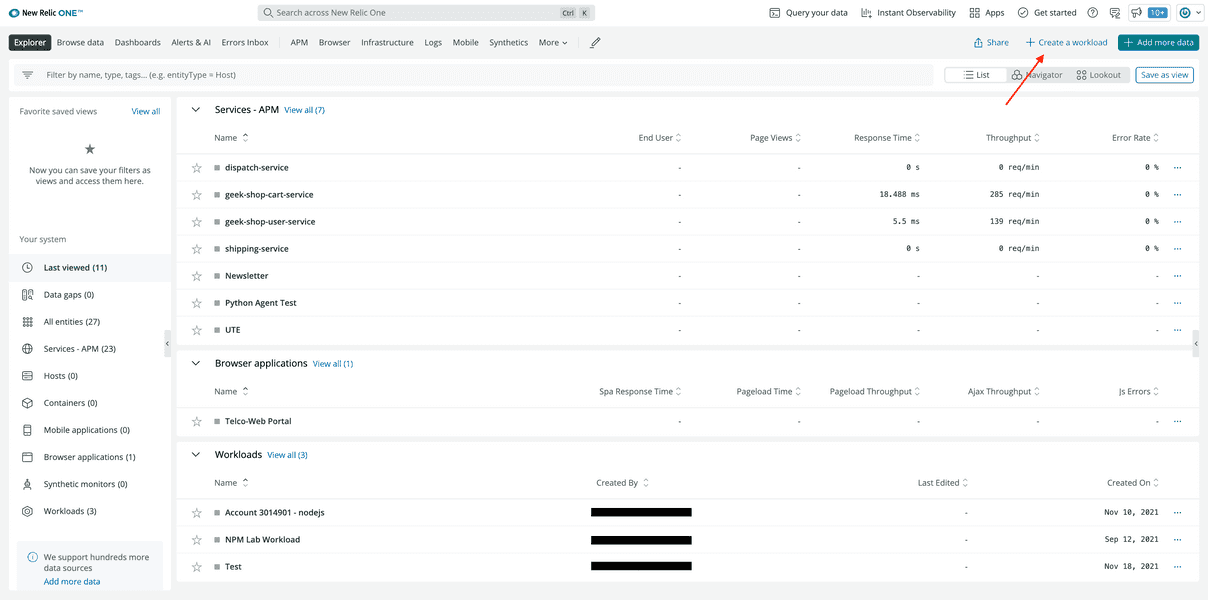
In the top right corner, click Create a workload.
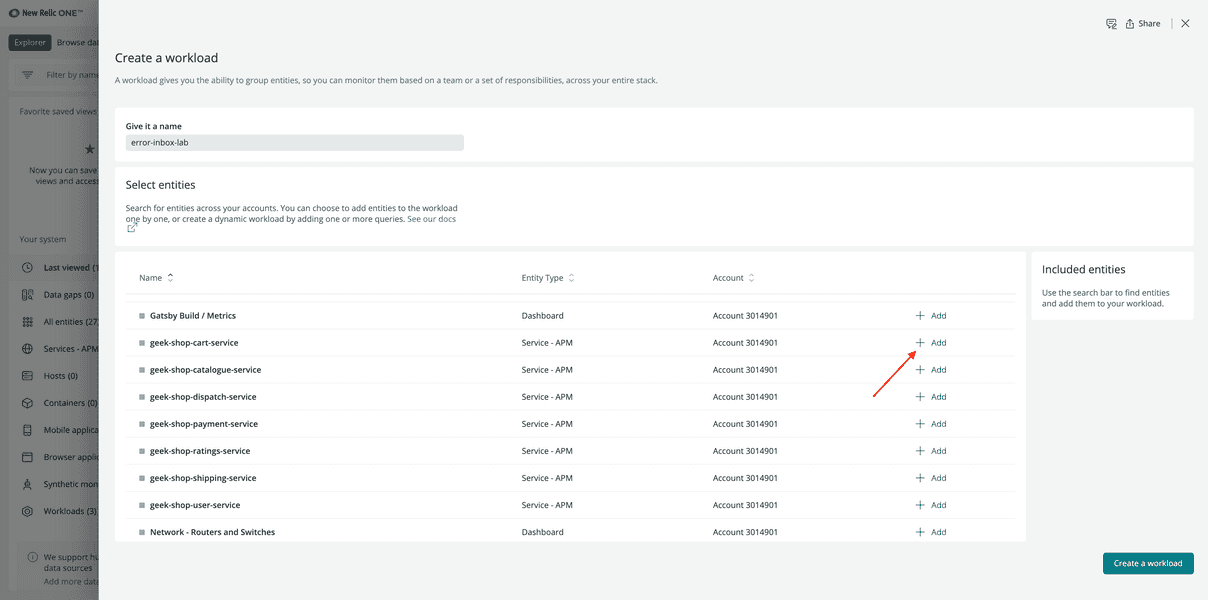
Name your workload "error-inbox-lab".
Under Select entities, click Add for each of the following services to include it in the workload:
- geek-shop-cart-service
- geek-shop-catalogue-service
- geek-shop-dispatch-service
- geek-shop-payment-service
- geek-shop-ratings-service
- geek-shop-shipping-service
- geek-shop-user-service
Click Create a workload.
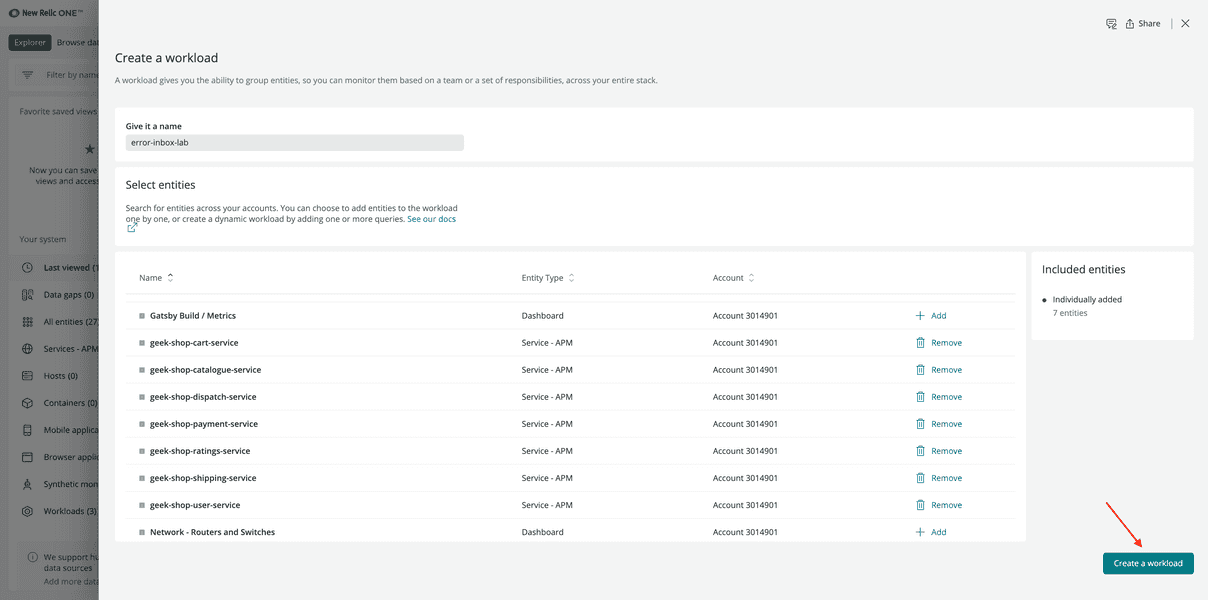
This creates a workload with all the geek-shop services.
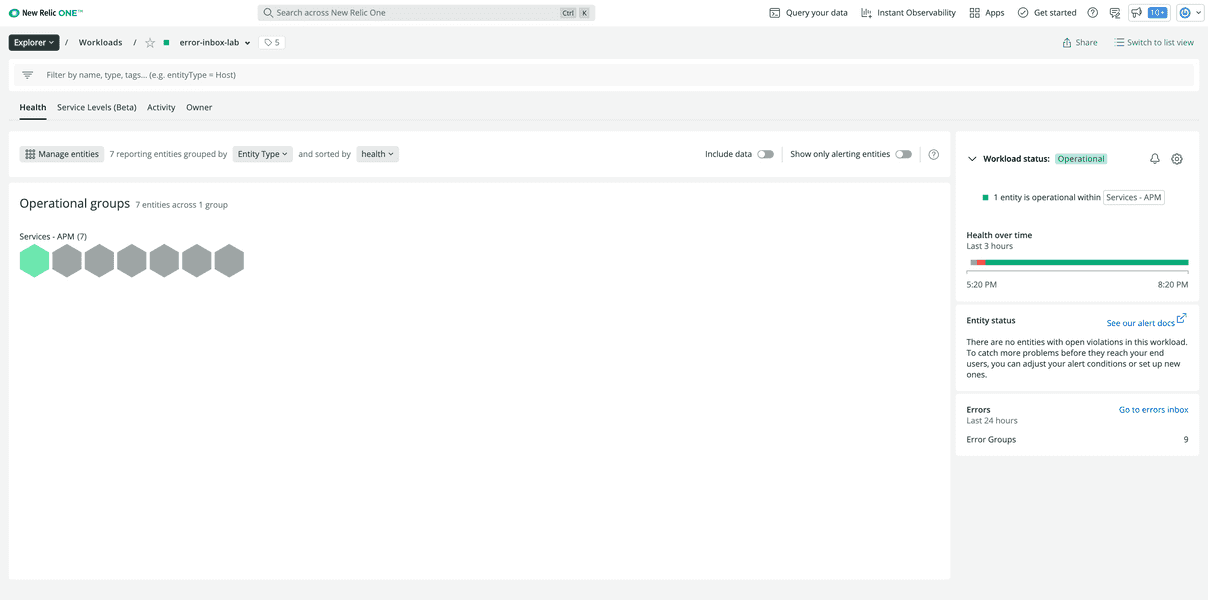
View the Errors Inbox
Now that you've created a workload, view its Errors Inbox.
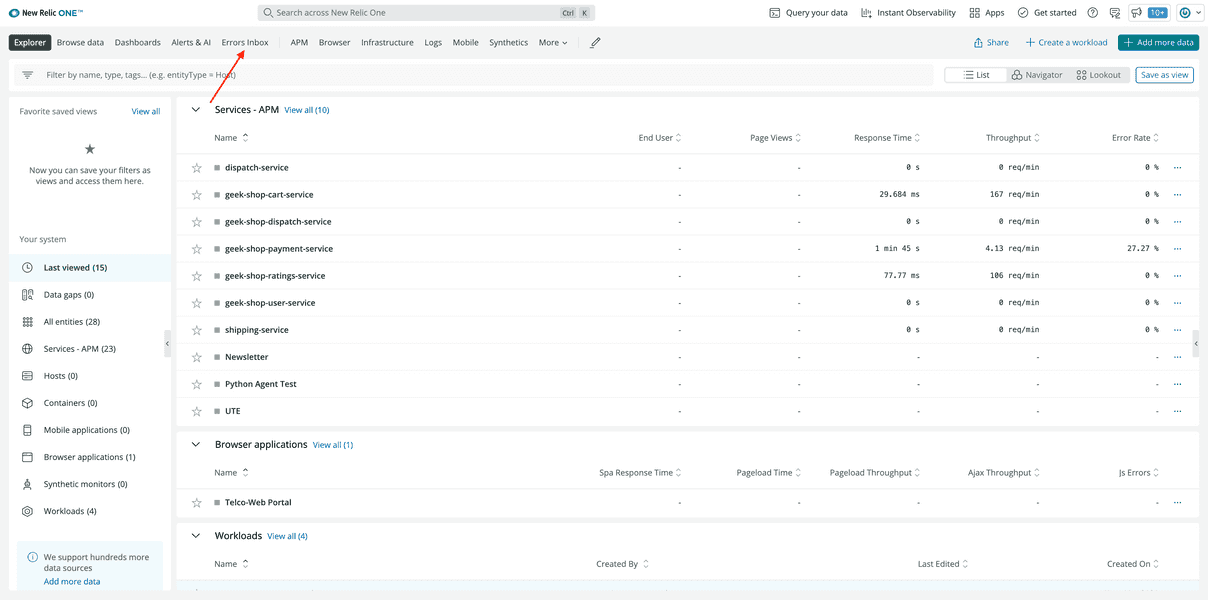
From the top navigation bar on the homepage, select Errors Inbox.
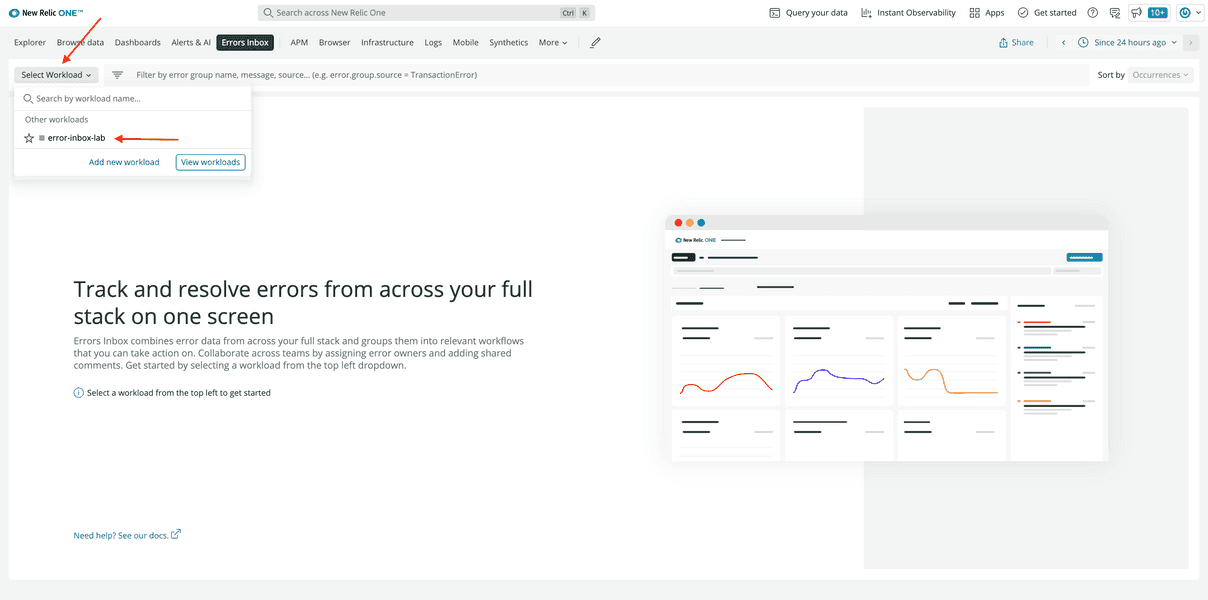
Click Select Workload, then error-inbox-lab from the dropdown.
This shows you the error groups across your workload.
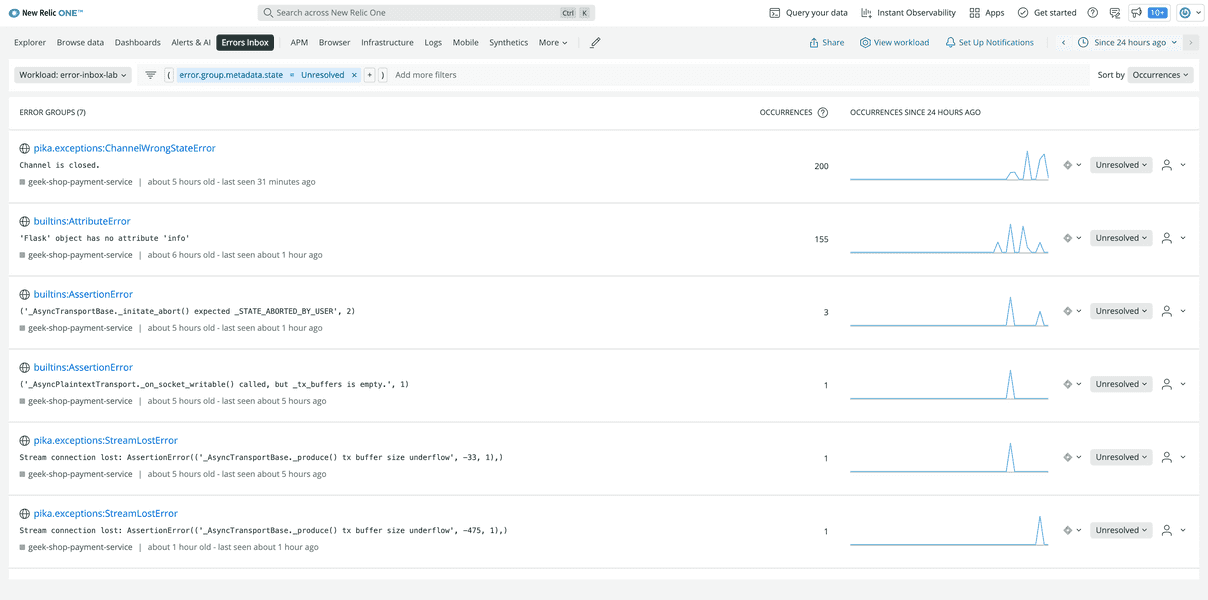
Now that you have an Errors Inbox for your workload, you can proactively monitor the errors across your stack.
lab
This procedure is part of a lab that teaches you how to track full stack errors using Errors Inbox. Now that you've set up Errors Inbox, it's time to triage your errors.